2 minutes
My Experience With Uber Ludwig
Introduction
Imagine not having to type lines and lines of code, looking at the screen for hours not knowing why the script won’t run. This is one of the prime reasoning behind the development of Uber’s AutoML AI platform, Ludwig.
So, how do they manage to do this? Is the toolbox easy to use? Do you need a lot of GPU resources to run it? To answer all these questions, I am going to test the toolbox by running an experiment from start to finish. Along the way, I will also show how to setup your environment to run ludwig effectively.
Pre Requisites:
There are two ways to install ludwig in your system, and the good thing is that it is a single line command, that is OS agnostic. But in order to make use of that, we must have python installed in the system. There are two ways to do that.
I am adding links on how to do for either case.
- Directly install python and create a virtual environment.
- Use Miniconda, an offering from Anaconda inc. to have python and conda create a virtual environment.
Now that is done, Et voilà! (there you go!).
$ pip install ludwig
To install task specific packages, add [] after ludwig to enter one of more from the following categories.
Text, Viz, image, audio, serve
As an example, I will be using image dataset, so we can specifically install,
$ pip install ludwig[image]
Or if you will need cross-platform support, dealing with multiple data types, you can install the full package by using the command,
$ pip install ludwig[full]
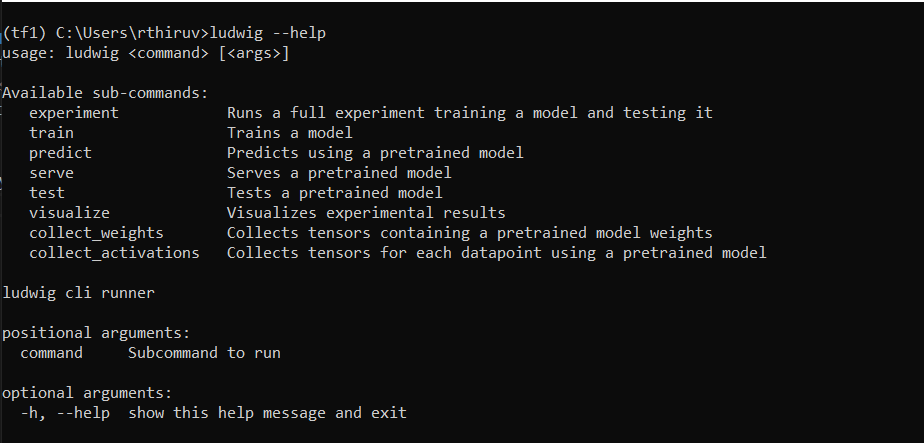
Once the installation is complete, you will be able to use the ludwig application (in essence ludwig cli).
To be clear, all of this are well documented in Ludwig’s website. But this is my experience following that and as user of the toolbox, see how simple it is.
Experiment:
The toolbox necessitates use of CSV file as the dataset, and I could’nt figure a way around it yet. I will be using Neural Machine translation dataset and will see what sort of meaningful insights ludwig provides.